Perfecting Your Archery Form and Technique: My Guide to USA Archery’s 11 Steps to Success
As an archery coach, I’ve had the privilege of helping archers at all levels refine their skills and find their rhythm on the range. There’s nothing quite like watching a student’s arrow “thwack” into the bullseye for the first time—it’s a moment of pure triumph. Archery is a sport of precision and patience, and mastering your form is the key to consistent success. That’s why I swear by USA Archery’s 11 Steps to Archery Success. These steps break down the process into a clear, actionable sequence. Today, I’ll share my take on each step and invite you to visit me at Sarasota Archery Academy for personalized coaching to bring it all together.
Why Archery Technique Is Everything
Before we get into the nitty-gritty, let’s talk about why form matters. When I started coaching, I noticed many archers jumped straight to aiming, skipping the basics like stance or grip. But here’s the deal: solid technique is what separates a lucky shot from a repeatable one. The 11 steps from USA Archery give you a foundation that works whether you’re a beginner or a pro. Ready to level up? Let’s dive in.
Step 1: Stance – Grounding Yourself
Every shot starts with your feet. I teach my students to stand shoulder-width apart, perpendicular to the target, with an open stance—left foot slightly forward for right-handers (reverse for lefties). USA Archery emphasizes stability, and I’ve seen how a strong stance steadies the whole shot. Want to perfect yours? Book a session at Sarasota Archery Academy, and I’ll help you find your footing.
Step 2: Nock – Starting Right
Nocking the arrow is simple but critical. You clip it onto the string, aligning it with the nock locator. I’ve watched beginners fumble this step in their excitement, but a sloppy nock messes up your trajectory. Take your time—feel the click.
Step 3: Set – A Relaxed Grip
Your bow hand sets the tone for control. I coach archers to rest the bow in the webbing between thumb and finger, keeping it loose. USA Archery warns against gripping too tight, and I agree—tension ruins shots.
Step 4: Set-Up – Aligning for Success
The set-up is your pre-draw checklist. Raise the bow with both arms, shoulders low, elbows soft. I tell my students, “Stand tall, not stiff.” USA Archery calls this the foundation of your draw, and it’s true.
Step 5: Draw – Smooth and Steady
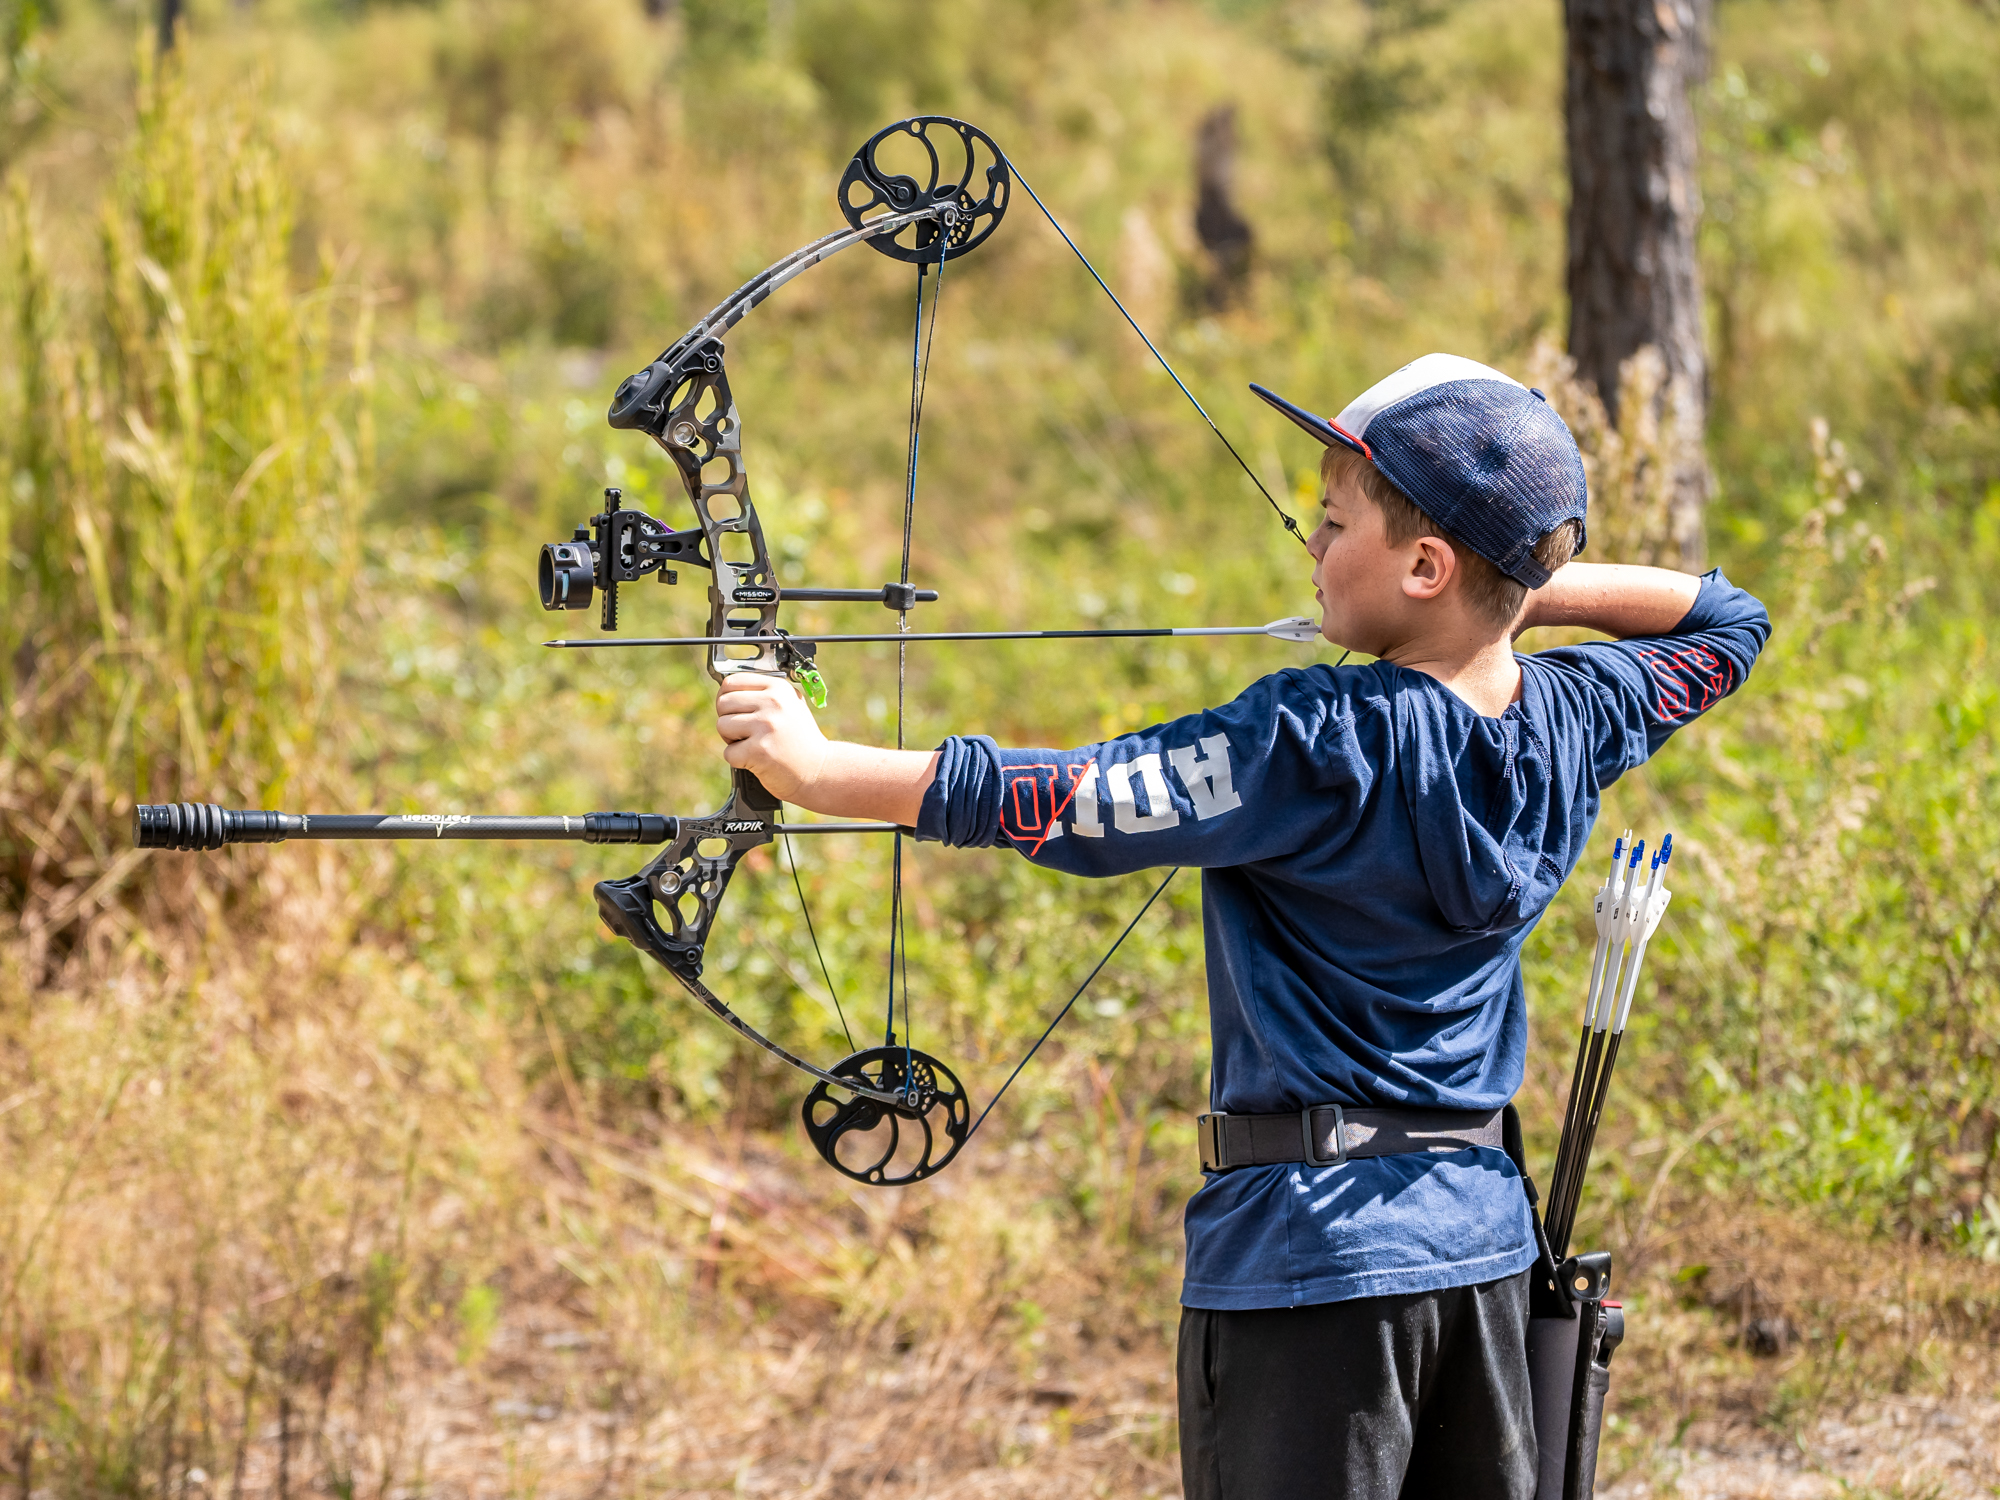
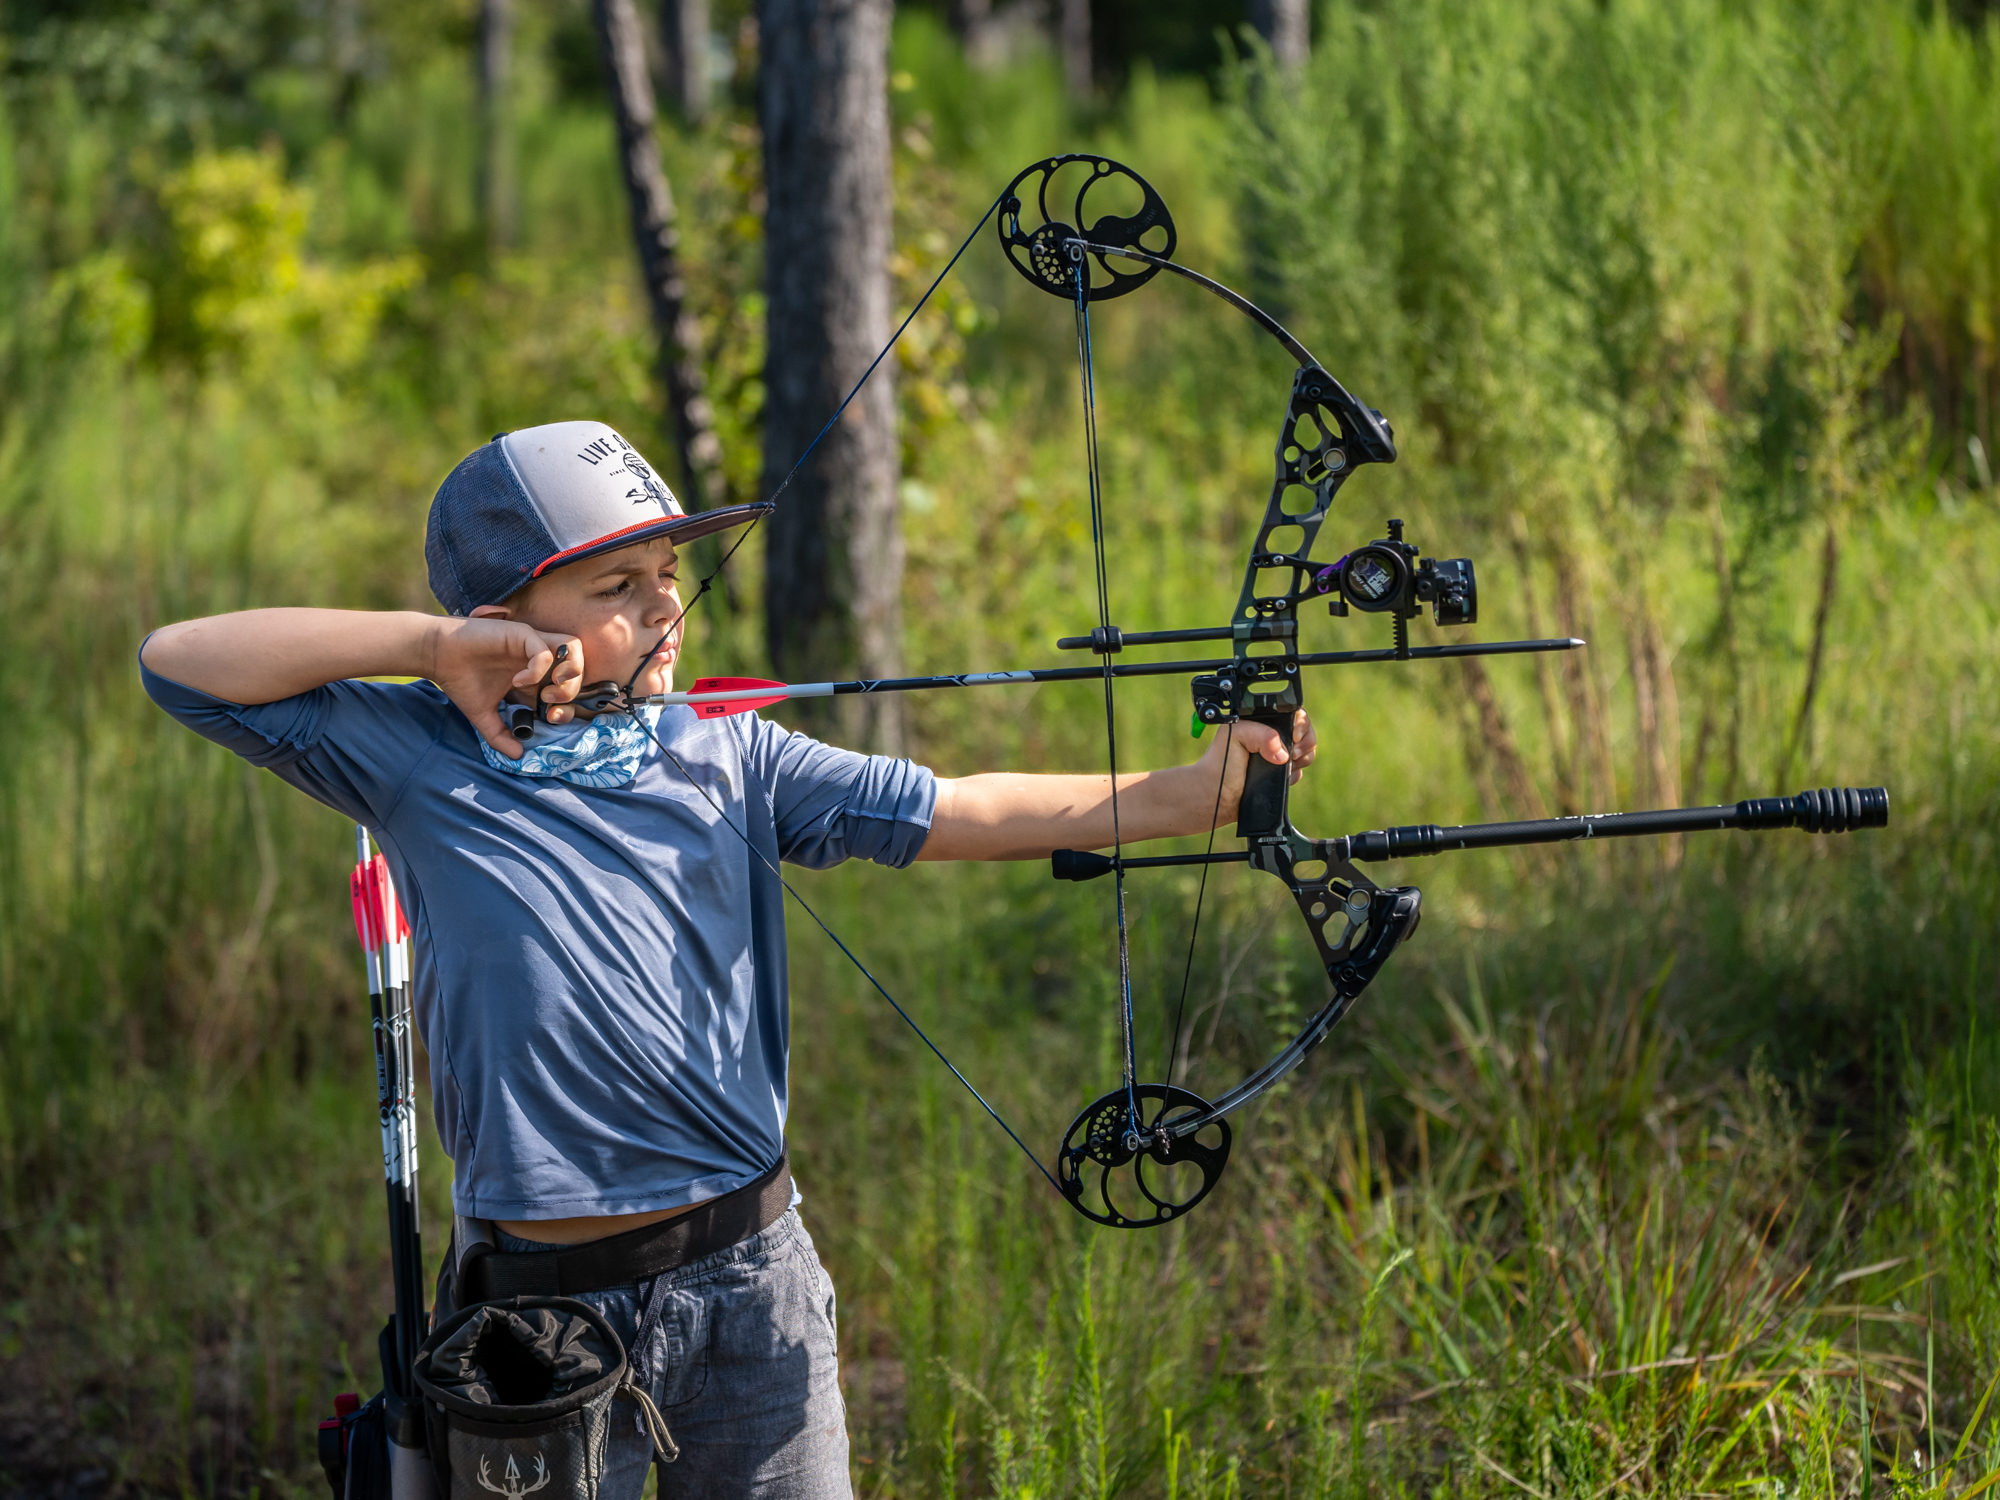
Drawing the bow is about controlled power. I teach using back muscles, not just arms, pulling the string close to your face. USA Archery stresses a smooth motion, and I’ve seen jerky draws derail great archers.
Step 6: Anchor – Your Consistency Key
The anchor point is where repeatability lives. USA Archery suggests finding your spot—maybe the corner of your mouth or under your chin. For revurve i belive this is true. For compound I belive a solid anchor is what allows for perfect peep alignment. Aligning your pin in the center of the peep is the most accurate way for repeatability.
Step 7: Transfer – Back in Control
Transferring effort to your back muscles is a game-changer. I cue my students to squeeze their shoulder blades as they settle in. USA Archery highlights this for a steady hold, and it’s a step many overlook.
Step 8: Aim – Focus Meets Form
Aiming comes after form, not before. With your sight pin on target, let your focus soften—trust your setup. USA Archery builds aiming on everything prior, and I tell my archers, “The target waits for you.” If your aim’s off, let’s troubleshoot together.
Step 9: Release – Letting Go Cleanly
A smooth release is pure art. For recurve I coach a natural slip of the fingers—no plucking. USA Archery stresses avoiding torque, and I’ve seen forced releases veer arrows wide. For compund we operate on Joel Turners ShotIQ techniques. Slow enough movements to stop at any point.
Step 10: Follow-Through – The Final Touch
Follow-through proves your form held. Let your bow hand drop naturally, head steady until the arrow lands. USA Archery ties this to muscle memory, and I’ve watched it transform consistency.
Step 11: Feedback – Growing with Every Shot
Feedback turns practice into progress. I push my students to reflect—where did the arrow go? Why? USA Archery’s final step is about learning, and I’ve seen it elevate archers fast.
Tying It All Together
The USA Archery 11 Steps to Success are more than a list—they’re a system I’ve used to coach countless archers to their best. From stance to feedback, each step builds a flow that feels instinctive with practice. I’ve seen it work wonders, and I’d love to share it with you in person.
Coach’s Tips
Newbies, focus on stance and grip first—distance comes later. Pros, revisit these steps when shots stray; the fix is often basic. Everyone, be patient—archery rewards diligence. For hands-on help, Sarasota Archery Academy is your spot. I’ll tailor these steps to your needs. I offer individual coaching to refine every detail, from stance to follow-through. Book a session today—let’s hit that bullseye together! Send me a text, call, or email to get started. Take Your Shot with Sarasota Archery Academy!


Comments are closed